Full-Body Strength Workout for Everyday Movement
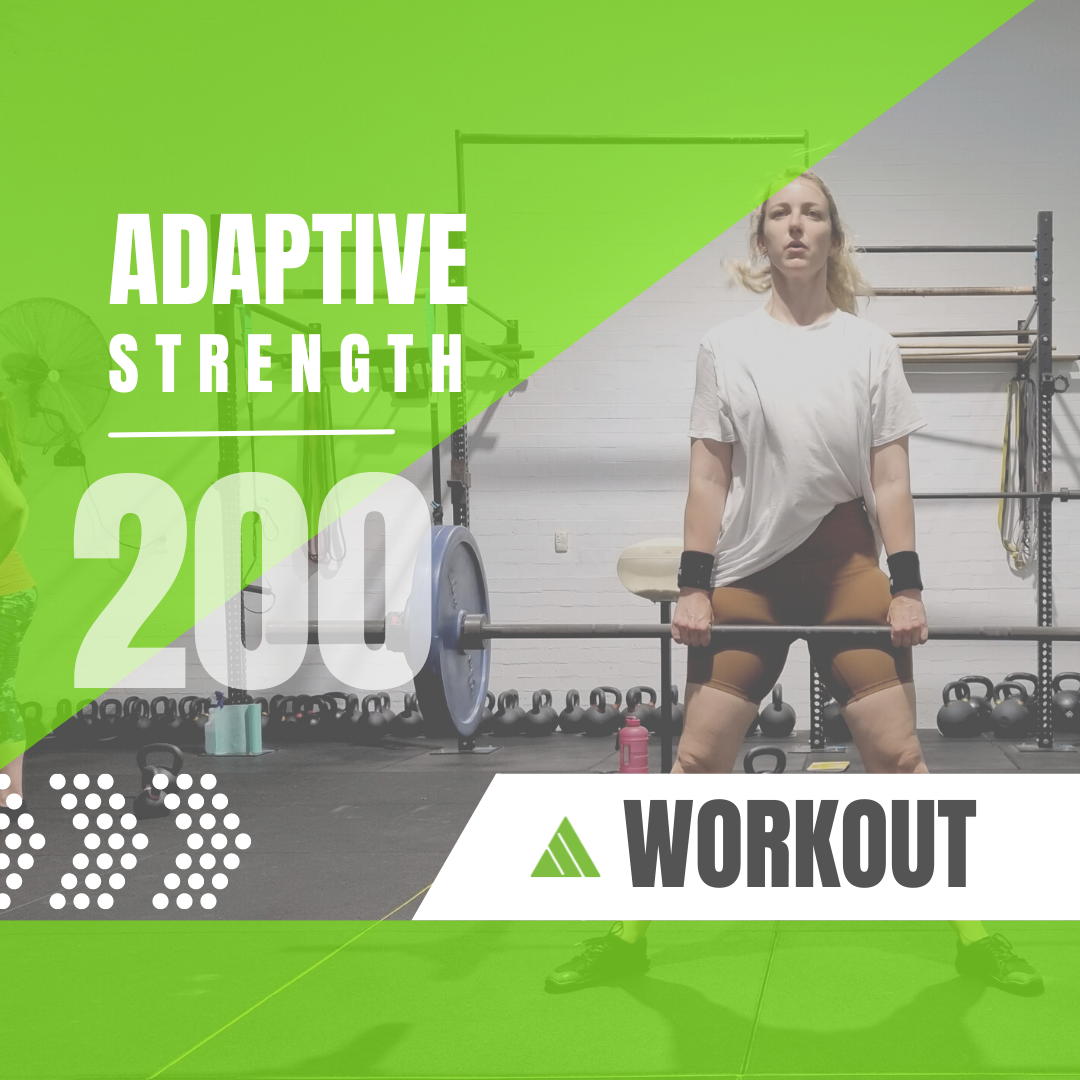
A well-designed strength workout should prepare your body to move, challenge several useful movement patterns and finish with an appropriate amount of conditioning.
This full-body session includes three distinct sections:
- Movement preparation
- Whole-body strength
- Rowing conditioning
The workout develops:
- Hip and leg strength
- Single-leg control
- Upper-body pushing strength
- Rotational strength
- Core and trunk stability
- Shoulder movement and control
- General cardiovascular fitness
The exercises include halos, a prying squat drill, glute bridges, suitcase deadlifts, cable rotational pulls, high-box step-ups, push-ups and rowing.
Rather than choosing exercises simply to make the session feel difficult, each movement has a purpose.
The preparation exercises help you get ready for the positions used later in the workout. The strength circuit includes lifting, stepping, rotating and pushing. The row then provides a simple conditioning finish.
Workout Overview
The original workout is designed to be completed in 60 minutes or less.
Part A: Movement Preparation
Complete three rounds:
- Halo: 10 repetitions in each direction
- Prying squat: 30 seconds
- Glute bridge: 10 repetitions
Part B: Full-Body Strength
Complete three to five rounds:
- Suitcase deadlift: 8 repetitions on each side
- Cable rotational pull: 8 repetitions on each side
- High-box step-up: 8 repetitions on each leg
- Push-up: 8 repetitions
Rest as needed between exercises and rounds.
Part C: Conditioning
Complete:
- 2 km row
The original workout provides the full version of the session. You can reduce the number of rounds, use easier exercise variations or shorten the rowing distance based on your current ability and experience.
This Is One Workout, Not a Complete Training Program
This article gives you one workout. It is not a complete training program.
A workout tells you what to do during one training session.
A program looks at the bigger picture. It determines:
- Which exercises are appropriate for you
- Which physical qualities you need to develop
- How often you should train
- How your sessions should fit together
- How much weight and training volume you should begin with
- How your training fits around sport, work and other physical activities
- How much recovery you need
- When exercises should be progressed
- When your program should be modified
- Whether your training is moving you towards your goals
This workout includes hip strength, single-leg strength, rotational movement, pushing and conditioning.
A complete program would also consider whether you need more pulling strength, overhead strength, balance, power, mobility or aerobic development during the rest of your training week.
It would consider what you trained in your previous session, what you are doing next and how you are responding over time.
The workout provides today’s session. Your program determines how today’s session contributes to your longer-term progress.
Who Is This Workout For?
This workout may suit someone who:
- Has some previous strength-training experience
- Wants to develop practical whole-body strength
- Is comfortable using weights, cables and a rowing machine
- Wants to combine strength and conditioning in one session
- Can perform deadlifts, step-ups and push-ups with an appropriate variation
- Has approximately 45–60 minutes available
Someone who is new to strength training or returning after a long break may still use the structure, but should begin with fewer rounds, lighter weights and suitable exercise variations.
Someone currently managing pain or recovering from an injury may need individual guidance about which exercises, ranges of movement and training volumes are appropriate.
Equipment You Will Need
Depending on the exercise variations used, you will need:
- One kettlebell or dumbbell
- A cable machine or resistance band
- A stable box or exercise step
- A rowing machine
- An exercise mat
- A timer
Choose weights that allow you to complete each repetition with control.
The purpose is not to use the heaviest weight possible. The weight should be challenging enough to develop strength without forcing you to lose your position or rush the movement.
Part A: Movement Preparation
Complete three rounds of the following exercises.
A1. Halo
Complete 10 repetitions in each direction.
The halo is usually performed by moving a kettlebell or weight around the head in a controlled circular path.
What Do Halos Develop?
Halos can help prepare the shoulders and upper back for training.
They challenge:
- Shoulder movement
- Upper-back mobility
- Shoulder-blade control
- Coordination around the shoulder
- Trunk stability while the arms move
- Control in different arm positions
Everyday activities do not always occur directly in front of the body. We reach around, behind and above ourselves when dressing, handling objects, performing household tasks or participating in recreational activities.
The halo allows the shoulders to move through several positions while the trunk remains controlled.
This may also be useful preparation for sports involving reaching, throwing, swimming or racquet movements. It does not replace sport-specific practice, but it can help prepare the shoulders and upper back for movement.
Halo Coaching Tips
When performing the halo:
- Begin with a light weight
- Keep the movement slow and controlled
- Move the weight around the head rather than moving your head around the weight
- Keep your ribs and trunk controlled
- Use a range that feels comfortable
- Avoid forcing the weight through a restricted position
A lighter weight or smaller range may be appropriate if you are unfamiliar with the movement.
A2. Prying Squat
Hold or move gently within the squat position for approximately 30 seconds.
A prying squat is commonly used as a mobility and movement-preparation drill. It involves settling into a controlled squat position and gently exploring the available movement through the hips, knees and ankles.
What Does the Prying Squat Develop?
The prying squat can help prepare:
- Hip mobility
- Ankle movement
- Squat depth
- Lower-body coordination
- Comfort in a lowered position
- Awareness of knee and foot position
The ability to move into and out of a squat has a clear connection to daily activities such as:
- Sitting down and standing up
- Getting onto a low seat
- Gardening
- Reaching for an object close to the floor
- Moving through low positions
- Playing with children
Squat mobility and control may also support sporting positions that require bending through the hips, knees and ankles.
The goal of the prying squat is not to force yourself into the deepest position possible. Use a depth you can control while keeping your feet stable.
Prying Squat Modifications
Possible alternatives include:
- Holding onto a stable support
- Squatting to a box
- Using a shallower squat
- Performing a supported hip-mobility drill
- Using heel elevation if appropriate
The best variation depends on why the standard position is difficult.
A3. Glute Bridge
Complete 10 controlled repetitions.
The glute bridge is performed lying on your back with your feet on the floor. You then drive through your feet and lift your hips before lowering under control.
What Do Glute Bridges Develop?
Glute bridges primarily develop and prepare:
- Glute strength
- Hip extension
- Hamstring contribution
- Pelvic and trunk control
- Awareness of using the hips to produce force
Hip extension is involved whenever you move from a bent position towards standing.
This can contribute to activities such as:
- Standing up from a chair
- Climbing stairs
- Walking uphill
- Lifting an object from the ground
- Running
- Jumping
- Accelerating
Within this workout, the glute bridge prepares the hips for the suitcase deadlift and high-box step-up.
Glute Bridge Coaching Tips
Focus on:
- Keeping your feet firmly planted
- Driving through the floor
- Lifting through the hips
- Avoiding excessive arching through the lower back
- Pausing briefly at the top
- Lowering under control
Additional weight can be used when appropriate, but a controlled bodyweight bridge may be enough during the preparation section.
Part B: Full-Body Strength Circuit
Complete three to five rounds of the following exercises.
Choose Your Starting Level
Beginner or Returning to Training
Complete two or three rounds.
Use a lower box, lighter weights and an incline push-up if needed.
Rest for approximately 60–90 seconds between rounds.
Intermediate
Complete three or four rounds.
Use weights that feel challenging while allowing consistent technique.
Experienced
Complete up to five rounds.
Increase the challenge through appropriate load or exercise selection rather than simply rushing through the circuit.
B1. Suitcase Deadlift
Complete eight repetitions on each side.
The suitcase deadlift is an asymmetrically loaded exercise. The weight is positioned on one side of your body rather than being evenly shared between both hands.
Your legs and hips produce the movement while your trunk works to prevent the weight from pulling you sideways.
What Do Suitcase Deadlifts Develop?
Suitcase deadlifts can develop:
- Glute strength
- Hamstring strength
- General leg strength
- Hip-hinge technique
- Grip strength
- Core and trunk stability
- Control under an uneven load
- The ability to resist sideways bending
The ability to resist being pulled sideways is sometimes described as anti-lateral flexion.
Because the load is held on one side, your trunk may also need to resist unwanted rotation.
Daily-Life and Sporting Carryover
Many daily lifting and carrying tasks are uneven.
The qualities developed through suitcase deadlifts may be useful when:
- Lifting a suitcase
- Picking up a shopping bag
- Carrying something in one hand
- Picking up an object beside you
- Moving tools or equipment
- Carrying a child on one side
- Handling an awkward load
In sport, the ability to produce force through the hips while keeping the trunk controlled may support running, changing direction, throwing, swinging a racquet or club and remaining balanced during contact.
The exercise does not reproduce those sporting actions exactly. It develops underlying strength and stability that may support them.
Suitcase Deadlift Coaching Tips
Focus on:
- Keeping both feet firmly planted
- Pushing your hips backwards
- Keeping the weight close to your body
- Maintaining a controlled trunk position
- Keeping your hips and shoulders facing forward
- Standing tall without leaning away from the weight
- Lowering the weight under control
Avoid turning the exercise into a sideways bend.
Possible alternatives include:
- Deadlifting from an elevated surface
- Using a lighter kettlebell or dumbbell
- Holding one weight in each hand
- Performing a kettlebell deadlift from between the feet
- Practising the hip hinge without weight
Someone learning the movement may begin with an evenly loaded deadlift before progressing to the suitcase variation.
B2. Cable Rotational Pull
Complete eight repetitions on each side.
The cable rotational pull combines a pulling action with rotation through the hips and trunk.
The exact exercise setup can vary. Follow the version demonstrated by your coach and select a cable height and resistance that allow you to rotate smoothly without losing your balance.
What Do Cable Rotational Pulls Develop?
Cable rotational pulls can help develop:
- Rotational strength
- Coordination between the hips, trunk and upper body
- Upper-back and arm strength
- Trunk control
- The ability to produce and control force across the body
- Balance while rotating
Rotation is a normal part of human movement.
We rotate when:
- Reaching across the body
- Turning to pick something up
- Moving an object from one side to another
- Pulling open a heavy door
- Handling tools
- Loading or unloading a vehicle
Rotational strength is also important in many sports, including:
- Tennis
- Golf
- Cricket
- Hockey
- Baseball
- Throwing sports
- Combat sports
A rotational exercise in the gym does not automatically improve sporting technique. It develops strength and coordination that may support the sporting action.
Cable Rotational Pull Coaching Tips
Focus on:
- Beginning from a balanced stance
- Allowing the hips and trunk to work together
- Keeping the movement controlled
- Avoiding excessive twisting through one area
- Finishing each repetition in a stable position
- Controlling the return rather than allowing the cable to pull you back
- Using resistance that does not disrupt your balance
Possible alternatives include:
- A lighter cable resistance
- A resistance-band rotational pull
- A split-stance cable pull
- A standing cable row
- An anti-rotation press
The alternative should reflect whether the aim is to develop rotation, resist rotation or improve general pulling strength.
B3. High-Box Step-Up
Complete eight repetitions on each leg.
A high-box step-up is a demanding single-leg strength exercise. Increasing the box height generally requires more hip and knee movement and places greater demand on the working leg.
The appropriate box height is different for each person.
What Do High-Box Step-Ups Develop?
High-box step-ups can develop:
- Glute strength
- Quadriceps strength
- Single-leg strength
- Balance and coordination
- Hip and knee control
- The ability to produce force through one leg
They also provide an opportunity to train each side separately.
This may help identify differences in strength or control between the left and right sides.
Daily-Life and Sporting Carryover
Step-ups have a direct relationship to activities such as:
- Climbing stairs
- Stepping onto a curb
- Walking uphill
- Hiking
- Carrying something upstairs
- Getting into a high vehicle
- Moving over uneven terrain
Single-leg strength is also involved in:
- Walking
- Running
- Accelerating
- Jumping
- Landing
- Changing direction
- Pushing off during court and field sports
Step-ups help develop some of the physical qualities involved in these activities, but do not replace practising the activities themselves.
High-Box Step-Up Coaching Tips
Focus on:
- Placing your whole foot securely on the box
- Selecting a height you can control
- Keeping your knee moving in the same direction as your toes
- Driving through the foot on the box
- Limiting the push from the lower leg
- Standing tall at the top
- Lowering slowly and under control
The highest box is not automatically the best box.
A box that is too high may cause you to lose balance, rotate excessively or push heavily from the trailing leg.
Possible alternatives include:
- A lower box
- Supported step-ups
- Bodyweight step-ups
- Sit-to-stands
- Split squats
- Reverse lunges
- Squats to a box
B4. Push-Up
Complete eight repetitions.
The push-up develops upper-body pushing strength while requiring the trunk and lower body to maintain a stable position.
It can be performed from the floor or with the hands elevated onto a box, bench or bar.
What Do Push-Ups Develop?
Push-ups can develop:
- Chest strength
- Shoulder strength
- Triceps strength
- Shoulder-blade control
- Core and trunk stability
- Whole-body tension and coordination
Pushing strength is used when:
- Pushing open a heavy door
- Moving furniture or equipment
- Getting up from the floor
- Pushing a trolley
- Supporting your body through your arms
- Completing manual or household tasks
It can also support sports involving pushing, bracing, throwing or upper-body contact.
Push-Up Coaching Tips
Focus on:
- Keeping your hands in a comfortable position
- Maintaining a straight line through your trunk
- Lowering under control
- Allowing the shoulder blades to move naturally
- Pressing away from the floor or support
- Using a range you can control
- Avoiding a collapsed position through the lower back
Possible variations include:
- Wall push-ups
- Incline push-ups
- Push-ups from a higher bar or box
- Floor push-ups
- Tempo push-ups
- Weighted push-ups
Elevating the hands is often a better way to reduce the difficulty than shortening the movement or losing your body position.
Part C: Rowing Conditioning
Finish the session with a rowing effort.
Beginner or Returning to Training
Row 500 metres to 1 kilometre at a controlled pace.
Intermediate
Row 1–1.5 kilometres.
Experienced
Complete the original 2 km row.
The rowing section should be challenging, but the goal does not need to be an all-out time trial.
What Does Rowing Develop?
Rowing can help develop:
- Cardiovascular fitness
- Leg drive
- Hip extension
- Upper-back endurance
- Coordination between the legs, trunk and arms
- Whole-body work capacity
It is a low-impact conditioning option because there is no running or repeated landing.
The movement still requires coordination. The legs should begin the drive, followed by the trunk and arms. On the return, the sequence reverses.
Use a pace you can maintain without losing your rowing technique.
Why Finish with Rowing?
The strength circuit already challenges the legs, hips, trunk and upper body.
The row asks these areas to continue working together over a longer, more continuous effort.
It provides a conditioning finish without needing to add more complex strength exercises once fatigue has accumulated.
Why Do These Exercises Work Well Together?
The session begins by preparing the shoulders, hips and squat position.
It then moves into four useful strength patterns:
- Lifting an uneven load
- Producing and controlling rotation
- Stepping through one leg
- Pushing through the upper body
The row finishes the session with whole-body conditioning.
Together, the exercises challenge:
- Hip extension
- Single-leg strength
- Upper-body pushing
- Rotation
- Trunk stability
- Shoulder movement
- Cardiovascular fitness
The workout is reasonably balanced for a single session, but it is still only one day of training.
A complete program would determine how this workout fits alongside other sessions and whether additional pulling, overhead strength, power, balance or recovery work is required.
How Hard Should the Workout Feel?
The preparation section should help you feel more ready to train. It should not leave you fatigued.
The strength circuit should feel progressively more challenging, but you should remain in control of each repetition.
You may need to reduce the weight, box height, repetitions or number of rounds if:
- Your technique changes significantly
- You begin rushing the exercises
- You repeatedly lose balance
- You can no longer control the lowering portion
- One side becomes noticeably less controlled
- You cannot maintain your trunk position
- You experience pain rather than normal muscular effort
The rowing section should increase your breathing rate and create fatigue, but you should still be able to maintain an organised rowing rhythm.
Completing less work with good quality is generally more useful than forcing yourself through the full session with deteriorating movement.
How Can You Progress the Workout?
Progress one variable at a time.
You could:
- Add one round to the strength circuit
- Increase one or two weights slightly
- Use a slightly higher step
- Improve the control of each repetition
- Use a more difficult push-up variation
- Increase the rowing distance
- Row the same distance at a more consistent pace
- Reduce rest periods slightly
Do not increase the weights, rounds, box height and rowing intensity all at once.
Progress should be based on how well you completed the previous session, not simply on whether you survived it.
How Adaptive Strength Builds an Individualised Training Program
At Adaptive Strength, we do not simply give every member the same workout of the day.
Each member follows an individualised strength-training program based on their:
- Goals
- Current strength and fitness
- Training experience
- Injury and medical history
- Movement ability
- Weekly availability
- Sporting and recreational activities
- Response to previous training
Your sessions form part of a planned program rather than a collection of unrelated workouts.
A complete program considers:
- Which exercises are most appropriate for you
- Which physical qualities need the greatest attention
- How your training sessions fit together across the week
- How much training you can currently tolerate and recover from
- How your strength work fits around sport, work and other activities
- When an exercise, weight or training volume should be progressed
- When your program needs to be modified
Two members may train beside each other while following completely different programs because they have different goals, starting points and training histories.
Our coaches supervise each session, monitor how you are moving and make adjustments when required. Your program can then gradually progress as your strength, confidence and physical capacity improve.
The value is not simply being given a list of exercises.
It is having a program designed for you, coached properly and progressed over time.
Should You Try This Workout?
This workout may be useful if you are familiar with the exercises and can select appropriate weights, variations and training volumes.
However, one online workout cannot assess your technique, injury history, current capacity or how the session should fit into the rest of your training week.
That is the difference between completing a workout and following an individualised training program.
Looking for a More Personalised Approach?
Adaptive Strength provides individualised strength programs within a supportive, supervised small-group training environment in Booragoon.
Your program is built around your:
- Current ability
- Training experience
- Goals
- Injury history
- Exercise preferences
- Weekly schedule
Our strength coaches, physiotherapists and Exercise Physiologist work together to help members progress from their current starting point towards greater strength, confidence and long-term physical capacity.
Whether you are returning after an injury, getting back into exercise or looking for a more structured approach to training, the first step is an initial consultation and movement assessment.
Book a quick chat with Adaptive Strength to find out whether our approach is right for you.